


How to Prime a Vape Coil
Properly priming and breaking in vape coils prevents burnouts and enhances vaping experience. While e-cigs with replaceable cartridges require no priming, mods with refillable tanks do. Check out the full article for step-by-step guidance and tips to lengthen coil life and optimize vape quality.
For new vapers, one of the most important things to know right out of the gate is how to prime a vape coil. If a coil is not properly primed, the first vape could potentially fry the coil and get an unpleasant burnt tasting vape. Additionally, the coil will likely be ruined and require replacement, equating to money down the drain. But when you learn how to prime a vape coil, you can avoid all this and ensure you get the maximum life possible out of each coil, leading to a better vaping experience.
Not every vaper will need to prime a coil. E-cigs that use replaceable cartridges and pod mods do not require any preparation or priming. For example, adult smokers often prefer devices like Mig Cig e-cigarette kits, which require no need to prime or break in coils. Users only need to prime and break in vape coils if using mods with refillable vape tanks or RDAs. For those looking for a no-hassle electronic cigarette, a Mig Cig kit is recommended. For vapers who want clouds, learning to prime atomizer coils is crucial.
Learning how to prime a vape coil is a simple part of learning how to vape and avoiding a burnt taste. There is no reason to be intimidated. Priming is not hard; it just takes a little extra preparation and time. Essentially, a coil is a high-temperature metal element in direct contact with cotton. It helps to know exactly what a vape coil is to understand why priming is necessary.
What Is A Vape Coil?
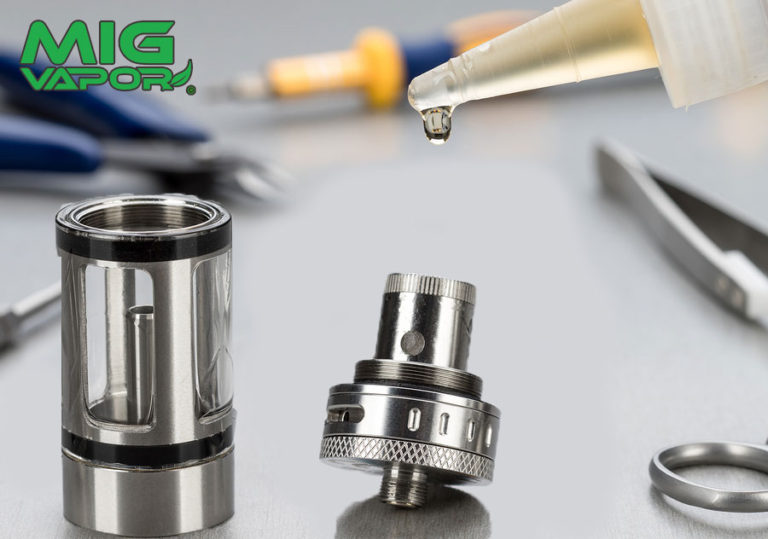
Coils and wicks are the main components of atomizers. A vape replacement coil is a cylindrical vaping device that contains the atomizer wire and wick in one piece. Made primarily of metal, the most common type is Kanthal, though other metals like stainless steel or nickel are used for temperature control vaping. There are also high-performance mesh coils available. When the coil is heated, it vaporizes e-liquids to produce vapor. If the wick is dry, it can burn the cotton wick, causing a burnt taste when vaping.
The atomizer coil is surrounded by wick, usually made of organic cotton. If the wick is dry and the coil is heated, the cotton burns. To avoid this, the wick must be saturated when the atomizer coil is heated. This is why proper priming is essential.
When using vape coils, always follow the manufacturer's recommended wattage settings to prevent overheating and burning the wick. The most common types of vape coils are:
- Sub ohm vape coils – atomizer resistance is less than 1.0 ohms.
- MTL vape coils – atomizer resistance above 1.0 ohms.
Users should prime both MTL and sub ohm vaping coils, though the methods differ slightly.
How To Prime A Vape Coil And Break It In Properly
Sub ohm vape coils must be primed as they draw more power from a battery due to low resistance, resulting in massive vapor production. By priming, the coils are prevented from burning out. To prime a sub ohm coil, follow these steps:
- Insert the new coil into the base of the vape tank.
- Place several drops of e-liquid into the top of the coil directly onto the cotton wick.
- Place drops of e-juice into the vape juice ports on the side of the coil.
- Assemble the tank and fill it with vape juice.
- Wait at least 10 minutes before vaping to ensure the wick is fully saturated.
Step By Step Guide To Prime Coils
- Thread the new coil into the base of the tank.
- Place several drops of e-liquid into the top of the coil directly into the cotton wick.
- Place a couple of drops of e-liquid into the cotton visible through the juice ports.
- Assemble the vape tank.
- Fill the vape tank with vape liquid.
- Wait 10 minutes to allow the wick to become fully saturated.
The ten-minute wait is crucial. While some manuals suggest five minutes, waiting 10 minutes ensures a fully primed coil, ready for action.
How To Break In Vape Coils
Breaking in a new vape coil is similar to gradually warming up a car. This process can extend coil life. Follow these guidelines:
- Set the wattage to the lowest recommended setting.
- Take a few short vapes to gradually break in the coil.
- Increase the power by 5 watts.
- Take three normal vapes and increase power by 5 watts.
- Repeat until the desired power setting is reached.
Priming and breaking in coils serves to prevent burnt taste, extend coil life, and enhance vape quality.
How To Prime MTL Vape Coils
For MTL coils, just fill the tank and let it saturate for 5 to 10 minutes before vaping. Commonly used MTL coils, like Aspire Nautilus, do not require dripping e-liquid on the coil itself.
- Insert a new vape coil into the base of the tank.
- Fill the tank with e-liquid and assemble the tank.
- Allow the coil to sit for five to ten minutes to saturate the wick fully.
- Start vaping.
Summary And Tips
Taking extra time to prime and break in coils results in better vaping and longer coil life. Follow these guidelines and tips for optimal results. The learning curve is easy, and vapers will get more comfortable with their devices over time. More tips can be found on our blog.
You May Also Like


